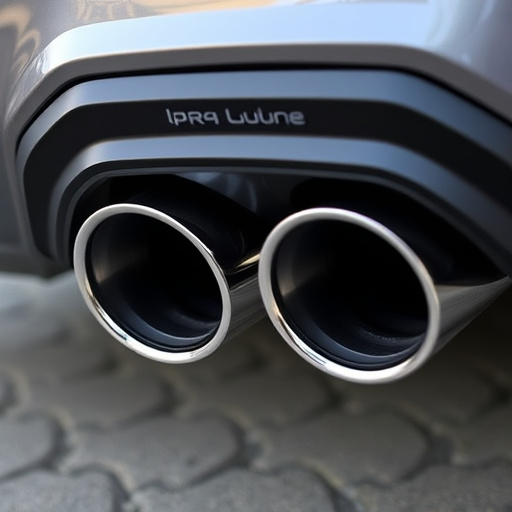


Electronic exhaust cutouts (e-cutouts) optimize vehicle performance by controlling airflow and reducing backpressure. Installation requires tools like suspension kits, wire strippers, and protective gear. Ensure part compatibility and proper alignment for seamless operation and long-lasting benefits, enhancing both performance and tailored sound.
“Enhance your vehicle’s performance and sound with this comprehensive guide on installing electronic exhaust cutouts. These cutting-edge devices offer precise control over engine noise, transforming your drive. In this article, we’ll walk you through the process step by step, from understanding the technology to ensuring a secure fit. Learn how to gather the essential tools, prepare your vehicle, and customize your exhaust note with these efficient and modular solutions. Get ready to unveil a new level of control over your ride’s exhaust.”
- Understanding Electronic Exhaust Cutouts: A Comprehensive Overview
- Gathering Essential Tools and Materials for Installation
- Step-by-Step Guide: Installing Electronic Exhaust Cutouts Effectively
Understanding Electronic Exhaust Cutouts: A Comprehensive Overview
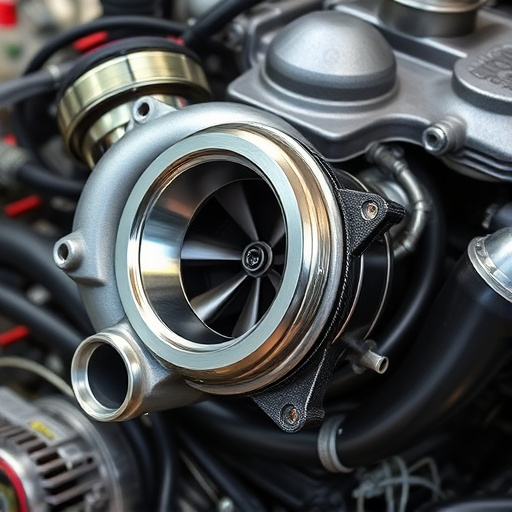
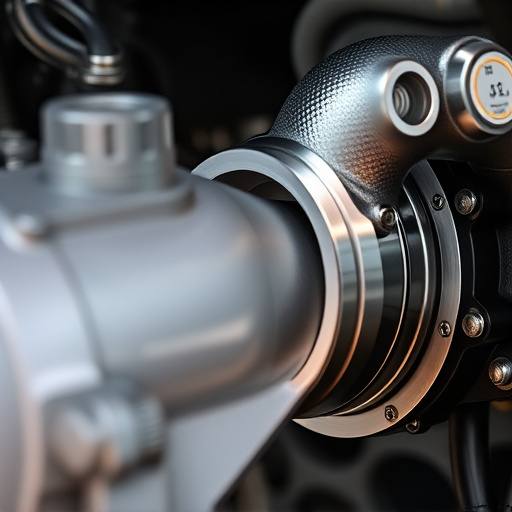
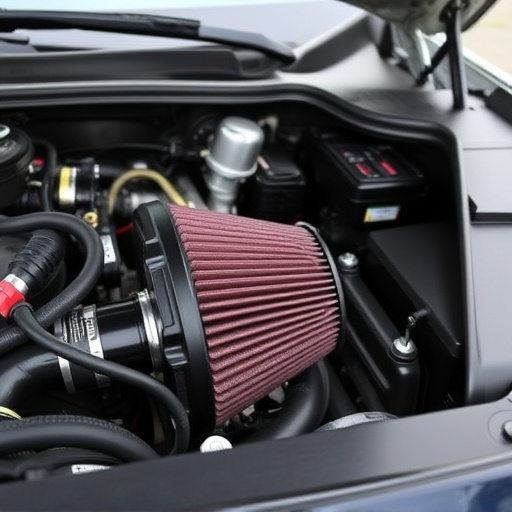
Electronic exhaust cutouts, also known as electronic exhaust valves or e-cutouts, are advanced technology designed to control and optimize airflow in a vehicle’s exhaust system. Unlike traditional mechanical cutouts, these electronic systems offer precise adjustments and customizable settings, allowing for enhanced performance and fuel efficiency. They act as intelligent switches, opening and closing based on specific conditions, such as engine load and RPM, to manage the flow of gases exiting the engine.
By integrating with a vehicle’s existing management system, electronic exhaust cutouts can direct exhaust gases away from the intake components, particularly when cold air intakes are active. This prevents backpressure in the intake system, ensuring optimal performance during acceleration or high-rev conditions. Moreover, these cutouts contribute to noise reduction by allowing for controlled exhaust flow, creating a more refined and acceptable sound profile, especially in regions with strict noise regulations.
Gathering Essential Tools and Materials for Installation

Before beginning your installation process for electronic exhaust cutouts, it’s crucial to gather all essential tools and materials. This includes a variety of specialized equipment designed to ensure a seamless and secure fit. Start by acquiring high-quality electronic exhaust cutout modules compatible with your vehicle model, along with any required suspension kits or muffler tips that facilitate the installation process. Additionally, prepare wire strippers, screwdrivers (both flathead and Phillips), pliers, a voltage tester, and insulation tape for securing electrical connections. Don’t forget protective gear such as gloves and safety glasses to safeguard against potential hazards during the installation.
Once you have all necessary components, double-check their compatibility with your vehicle’s make and model. Proper alignment of suspension kits and exhaust tips is paramount to ensure smooth operation of the electronic cutouts. Verify that all parts fit securely before proceeding, as any misalignment could lead to malfunctioning or even damage to your vehicle’s system. This meticulous preparation will not only streamline the installation but also contribute to long-lasting performance of your new electronic exhaust cutouts.
Step-by-Step Guide: Installing Electronic Exhaust Cutouts Effectively
Installing electronic exhaust cutouts is a straightforward process that can significantly enhance your vehicle’s performance and sound. Here’s a step-by-step guide to ensure an effective installation. Begin by preparing your workspace, gathering all necessary tools, including your electronic exhaust cutout kit, which typically includes sensors, wiring, and instructions. Next, locate the exhaust system components, identifying the points where the cutouts will be installed. This often involves accessing the headers or the manifold, so refer to your vehicle’s service manual for specific guidance related to your make and model.
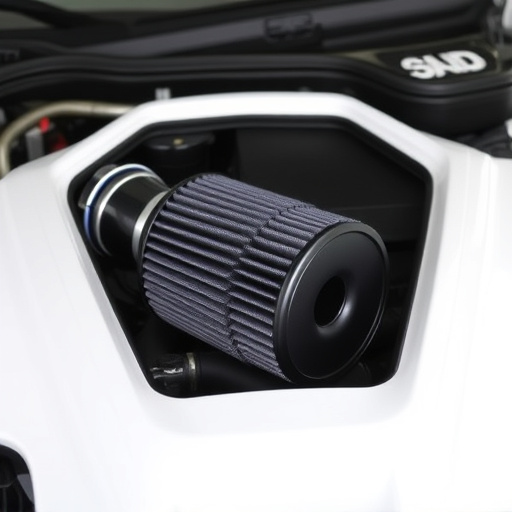
Once you’ve gained access, disconnect any existing sensors or wiring from the air filter kits and suspension components to create a clear workspace. Remove any debris or old sealants from the mounting surfaces. Follow the kit’s instructions to install the electronic exhaust cutouts, securing them firmly with appropriate hardware. Ensure proper alignment for optimal performance and vehicle stability. After installation, reconnect the sensors and wiring, testing the system to confirm proper operation. This process not only enhances vehicle performance but also allows you to customise the sound according to your preferences.
Installing electronic exhaust cutouts can significantly enhance your vehicle’s performance and tuning capabilities. By following this step-by-step guide, you’ve now equipped yourself with the knowledge to navigate through the process successfully. Remember, proper installation is key to ensuring optimal performance and reliability. With these new modifications, you’re not just improving your ride’s sound, but also potentially boosting its overall power and efficiency. Now go forth and enjoy the transformative benefits of electronic exhaust cutouts!